

There is a sound that tells you chicken wings are done properly, and it is not the timer. It is the crackle when you pick one up, the way the skin gives a little snap before the meat underneath. Getting that crackle out of an air fryer, without a pot of oil and without the kitchen smelling like a takeaway for two days, feels like a small miracle the first time it works. These honey garlic wings are the recipe that convinced me the air fryer was not a gadget I would regret buying. They are sticky, golden, garlicky, and gone within about ten minutes of hitting the table.
The trick, and it is a trick worth knowing, is drying the wings properly and giving them room. Wet skin never crisps, and crowded wings steam each other. Pat them dry, spread them out in a single layer, and let the hot air do its job. The honey garlic glaze goes on at the very end, off the heat, so the honey caramelises on the hot skin instead of burning in the fryer. Get those two things right and you will wonder why you ever paid delivery prices for wings.
This is also a genuinely useful recipe for feeding a crowd without much effort. A kilo of wings costs little, the air fryer does the cooking while you set out dips, and the whole thing is on the table in about thirty-five minutes. Game night, Friday night, a casual dinner with friends — wings fit all of them, and these ones disappear faster than any other version I have made.
Why This Recipe Works
An air fryer is really just a small, very efficient convection oven, and wings are the food it was born to cook. The skin is thin, the fat renders out under the hot circulating air, and the surface dries and crisps in a way that a regular oven struggles to match without much longer cooking times. That is why wings come out of an air fryer so much closer to deep-fried than oven-baked ones do. If you have ever wondered how the appliance actually works, the background on air fryers explains the circulating-air idea in plain terms, and it makes sense of why spacing and dry skin matter so much.
The second half of the recipe is the glaze, and its timing is everything. Honey burns at high heat, which is why wings tossed in a honey sauce before cooking often come out dark and bitter around the edges. Here the wings cook plain, seasoned only with salt, pepper, and a little baking powder — which, by the way, is the secret to extra-crisp skin, because it raises the pH of the skin and helps it brown. Then, while the wings are still hot from the fryer, they get tossed in a warm honey garlic sauce that clings to every ridge and crackle. The heat of the wings thickens the glaze slightly, and you get sticky without burnt, sweet without cloying.
There is also the practical side. No oil to dispose of, no splattering pot to clean, and no lingering fried smell in the house. The air fryer basket goes in the dishwasher, the wings are on a plate, and dinner is done. It is the same kind of low-effort logic that makes other air fryer cooking so appealing — this air fryer chicken tenders without breadcrumbs is another good example, and the SavorFoodies air fryer recipes collection leans on the same idea: food that tastes fried, without the frying.
Ingredients You Need
You want about 1 kg of chicken wings for four people as a main, or as a generous snack for six. Buy them already split into flats and drumettes if you can — it saves a fiddly job with a knife, and the pieces cook more evenly. If yours come whole, cut them at the joint and save the tips for stock, or just cook them whole and add a few minutes to the time.
For the wings and glaze, gather:
- 1 kg chicken wings, split into flats and drumettes
- 1 tablespoon baking powder (not baking soda)
- 1 teaspoon kosher salt
- 1/2 teaspoon black pepper
- 1/2 teaspoon garlic powder
- 1/2 teaspoon smoked paprika
- 3 tablespoons honey
- 3 tablespoons soy sauce
- 4 cloves garlic, finely minced
- 1 tablespoon rice vinegar or apple cider vinegar
- 1 teaspoon sesame oil (optional, but lovely)
- 1 spring onion, thinly sliced, for serving
- 1 teaspoon sesame seeds, for serving
A note on the baking powder, because it confuses people: it must be baking powder, not baking soda. Baking soda is much stronger and will leave a soapy, metallic taste if you use it here. Baking powder is a mix of soda and an acid, and in this small amount it simply dries the skin out and helps it crisp. It sounds odd, but it is the difference between good wings and great ones, and it is a trick used by serious wing cooks everywhere.
For the honey, any runny honey works. A darker honey gives a deeper, almost caramel flavour, while a light one keeps the glaze brighter and cleaner. Either is fine, and this is not the place to spend money on fancy single-origin honey — the garlic and soy are doing most of the talking. Chicken wings have gone from a throwaway cut to a star ingredient in their own right, and a glaze like this is exactly why: the skin holds sauce better than almost any other part of the bird.
How to Make It
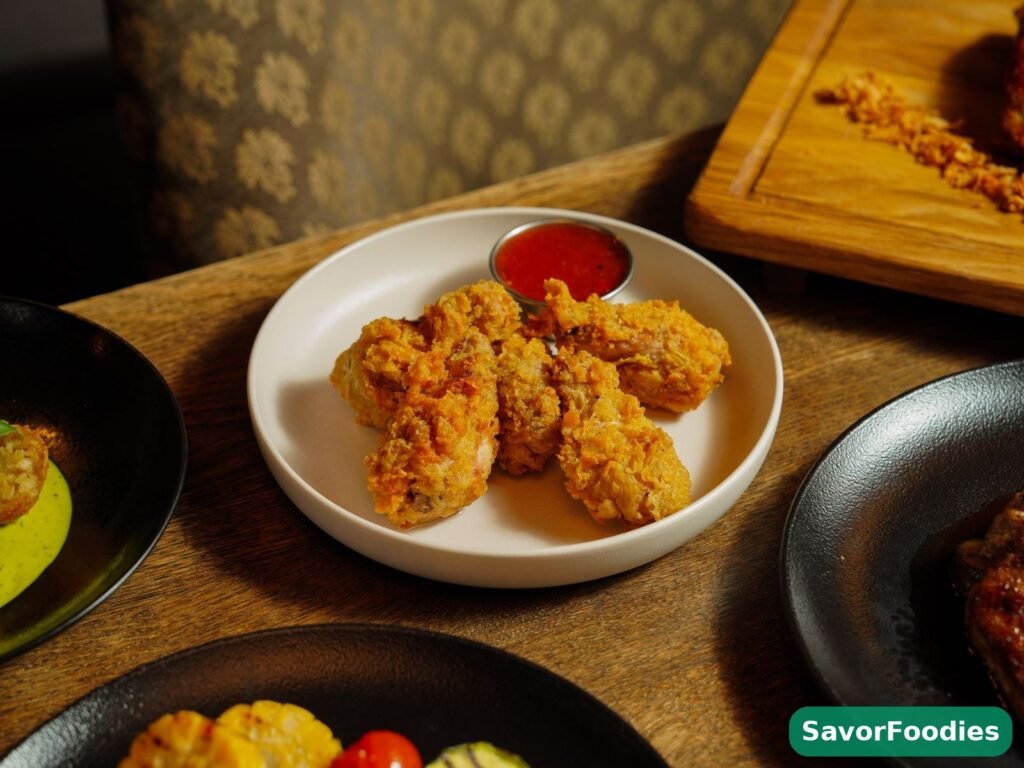
- Dry the wings thoroughly. This is the step that matters most, so do not rush it. Pat every wing dry with paper towels, front and back, and then leave them uncovered in the fridge for at least thirty minutes if you have time. The drier the skin, the crisper the result. If you are cooking straight away, a good pat-down still makes a real difference.
- Season. Toss the dry wings in a large bowl with the baking powder, salt, pepper, garlic powder, and smoked paprika. Mix well so every wing gets an even, light coating. You are not breading them — the coating should be thin and powdery, not thick. Let them sit for ten minutes while the air fryer preheats.
- Preheat the air fryer. Set it to 200°C (400°F) and let it run empty for three to five minutes. A properly preheated basket sears the skin on contact, which is half the crisping battle. Lightly spray or brush the basket with oil, or line it with a perforated parchment liner if you use those.
- Cook the wings. Arrange the wings in the basket in a single layer, skin-side up, with a little space between each one. Do not stack them. Cook for 12 minutes, then flip each wing and cook for another 10 to 12 minutes, until the skin is deep golden and crisp and the meat is cooked through. If your air fryer is small, cook in two batches — crowded wings are the number one cause of soggy skin, and it is better to spend ten extra minutes than to serve soft wings.
- Make the glaze. While the wings cook, combine the honey, soy sauce, garlic, vinegar, and sesame oil in a small saucepan. Warm over low heat for two to three minutes, stirring, until the honey has dissolved and the garlic smells fragrant. Do not boil it hard — you want it warm and fluid, not reduced to a hard caramel. Take it off the heat.
- Toss and rest. Tip the hot wings into a large bowl and pour over the warm glaze. Toss well so every wing is coated, then let them sit for two minutes. The glaze thickens slightly as it cools on the hot skin, and the wings stay crisp underneath it, which is the whole point. Scatter over the spring onion and sesame seeds and serve immediately.
Tips for the Best Result
The most common air fryer wing mistake is overcrowding, and it is worth repeating because it ruins more batches than anything else. Wings need hot air circulating around every surface. If they are touching, the touching sides steam instead of crisping, and you end up with pale, soft patches. A single layer with gaps is non-negotiable. If your air fryer is small, two batches are not a failure — they are the correct method, and the first batch stays crisp in a low oven while the second cooks.
The second tip is about the glaze temperature. Toss the wings in warm glaze, not boiling glaze, and do it in a bowl, not in the fryer. Boiling glaze poured over hot wings will soften the skin you just spent twenty-five minutes crisping. Warm glaze clings, cools slightly, and sets into a sticky coat that keeps the crunch underneath. If the glaze thickens too much while you wait, a teaspoon of warm water loosens it without dulling the flavour.
One more thing: the baking powder trick works best when the wings have had a little uncovered time in the fridge. If you can, season them and leave them uncovered in the fridge for an hour, or even overnight. The skin dries out further, and the next day’s wings are noticeably crisper. It is a small bit of planning that pays off, especially if you are cooking for guests and want the best possible result.
What to Serve With It
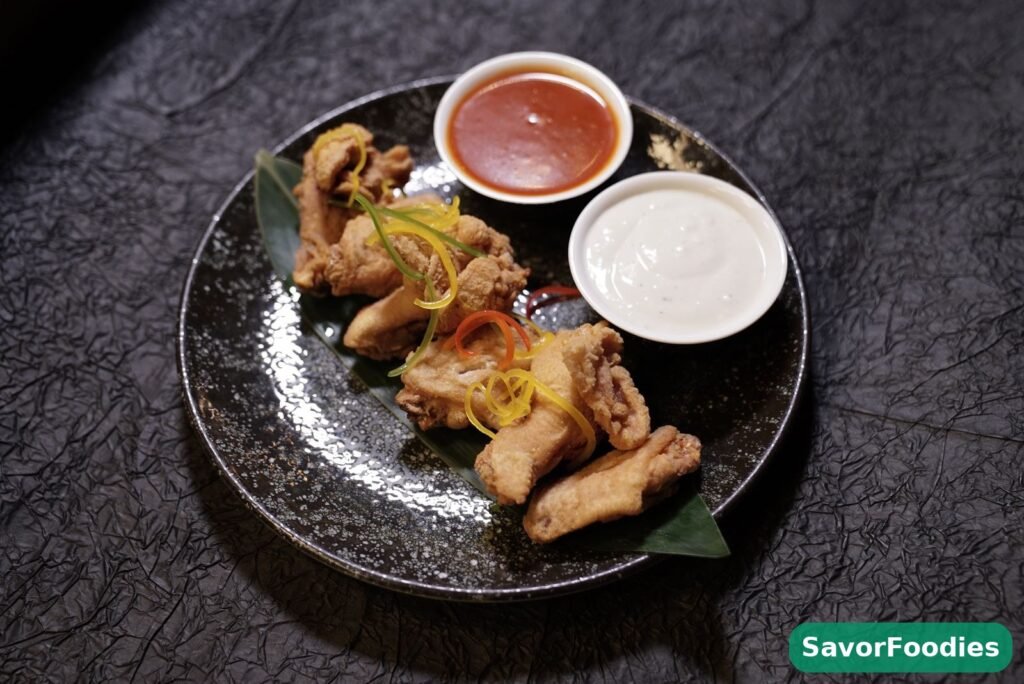
Wings are at their best with something cool and crunchy alongside. Celery and carrot sticks are the classic for a reason — cold, crisp, and a perfect contrast to sticky, hot wings. A blue cheese dip is traditional, but a simple ranch or a garlicky yogurt dip works just as well, and takes two minutes to stir together. For a fuller meal, add a pile of fries or a simple coleslaw, and you have a spread that feeds a crowd without anyone standing over a stove.
If you are building a wing night around this recipe, the same air fryer logic applies to other cuts too — this chicken thighs without breading in the air fryer uses the same dry-skin, high-heat approach, and the SavorFoodies homepage has more weeknight cooking in the same spirit. For drinks, keep it cold and simple: lager, sparkling water with lime, or an iced tea all cut through the sticky sweetness nicely.
Storage and Reheating
Leftover wings keep in the fridge for up to three days in an airtight container. The glaze will soften the skin as they sit, which is normal, but you can bring most of the crunch back. Reheat them in the air fryer at 190°C (375°F) for five to six minutes, in a single layer, and they come out nearly as crisp as fresh. The microwave will heat them, but it will also make the skin soft and a bit rubbery, so I would avoid it unless there is no other option.
For the freezer, wings freeze well before glazing. Cook them plain, cool completely, and freeze in a single layer on a tray before bagging, so they do not stick together. They keep for up to two months. Reheat from frozen in the air fryer at 190°C for about ten minutes, then toss in freshly warmed glaze. It is a genuinely useful trick for last-minute guests — a bag of cooked wings in the freezer and a jar of honey in the cupboard is a party waiting to happen.
Frequently Asked Questions
Can I make these wings without baking powder?
Yes, you can, but they will not be quite as crisp. The baking powder dries the skin and encourages browning, and without it the wings come out a little softer, though still tasty. If you skip it, make sure the wings are as dry as possible before cooking, and add two or three minutes to the cooking time. Do not substitute baking soda — it tastes soapy at this quantity and will ruin the batch.
Why did my wings come out soggy?
Almost always, it is one of three things: the wings were wet when they went in, the basket was overcrowded, or the temperature was too low. Dry the wings properly, cook in a single layer with gaps, and make sure the air fryer is fully preheated to 200°C. If your air fryer runs cool, bump it up a little and check the wings a few minutes early so they do not overcook.
Can I use frozen wings?
Yes, but thaw them fully first, and then dry them very thoroughly. Frozen wings release a lot of water as they thaw, and that water is the enemy of crisp skin. Thaw overnight in the fridge, pat dry, and then follow the recipe as written. Cooking from frozen is possible in some air fryers, but the skin rarely crisps properly, and the cooking time is unpredictable, so I would not recommend it for this recipe.
How do I keep the glaze from burning?
The glaze never goes into the air fryer, which is the whole point. It is warmed gently in a saucepan and tossed with the wings after cooking, while the wings are hot but off the heat. Honey burns quickly at air fryer temperatures, so any recipe that tells you to glaze before cooking is asking for dark, bitter edges. Glaze last, always.
Can I make the glaze spicier?
Absolutely. A teaspoon of chilli flakes, a squirt of sriracha, or a finely chopped fresh chilli stirred into the warm glaze all work well. Add heat gradually and taste as you go — the honey makes spice sneak up on you, and what tastes mild in the pan can feel much hotter on the wings. A pinch of black pepper in the glaze is the mildest way to add warmth without changing the flavour much.
What if I do not have an air fryer?
You can make these in a regular oven, but they will take longer and the skin will not be quite as crisp. Spread the seasoned wings on a wire rack over a baking tray, bake at 220°C (425°F) for about forty minutes, flipping halfway, until golden and crisp. Then toss in the warm glaze as usual. The wire rack matters — it lets hot air circulate underneath, which is the closest an oven gets to air fryer conditions.
That is the whole recipe, and it is one of those rare ones that gets better the more you make it, because you start to learn your own air fryer — which spots run hot, how many wings fit in a single layer, exactly how long your basket takes to crisp them. Once you have that dialled in, wings stop being a takeaway order and start being the thing you make when friends text to say they are coming over. And with a jar of honey and a head of garlic in the cupboard, you are never more than half an hour away from them.