

There is a moment in every kitchen when a bunch of bananas crosses the line from fruit to problem, and banana bread is the answer that has saved more bananas than any other recipe in history. The skins go black, the fruit goes soft and sweet, and what was heading for the bin becomes a loaf that is moist, golden, and gone within a day. This version, with walnuts, is the one I make most often, because the walnuts do two jobs at once: they add a buttery crunch that keeps the soft crumb interesting, and they add a faint bitterness that keeps the sweetness honest.
I have baked a lot of banana breads over the years, and the difference between a good one and a great one is rarely a secret ingredient. It is usually restraint: not overmixing the batter, not skimping on the bananas, and not pulling the loaf out of the oven before the centre is truly done. The first time I got all three right in the same bake, the loaf came out with a crack down the middle, a deep golden crust, and a crumb so moist it barely needed butter. My family ate half of it standing up in the kitchen, and I have baked it the same way ever since.
If you are new to baking, this is the most forgiving loaf you could start with. There is no yeast, no kneading, no proving, and no special equipment — one bowl, a fork, and a loaf tin. Even if you overmix slightly, even if your bananas are more or less ripe than ideal, the result is still recognisably banana bread, and still delicious. By the second time you bake it, you will have your own version — maybe chocolate chips, maybe a cinnamon swirl — and that is exactly how a recipe earns its place in a home kitchen.
Why This Recipe Works
Banana bread works because overripe bananas are not a compromise ingredient — they are a better ingredient. As bananas ripen past eating, their starches convert to sugars, their flavour deepens, and their texture turns soft enough to mash into a batter without any effort. A yellow banana makes a pale, polite loaf; a black-spotted banana makes a dark, fragrant, deeply flavoured one. The bananas are doing the work of sugar, moisture, and flavour all at once, which is why this recipe needs less added sugar than most cakes and still tastes sweet.
The walnuts matter more than people expect. In a soft, moist crumb, texture is what keeps each bite interesting, and walnuts provide a buttery crunch that contrasts with the tenderness around it. Toasting them first — just five minutes in a dry pan — deepens their flavour from woody to almost caramel, and it is the single easiest upgrade in this recipe. The slight bitterness of walnut skins also balances the sweetness of the bananas, which is why the loaf never tastes cloying the way some banana breads do. The background on banana bread is worth a read if you are curious about the loaf’s history, though you do not need it to bake one well.
Then there is the method, which is deliberately simple. Melted butter instead of creamed butter means one bowl and no beating; a fork instead of a mixer means you cannot easily overmix; and a single raising agent, baking soda, reacts with the acidity of the bananas to lift the loaf without any fuss. The batter should look rough and slightly lumpy when it goes into the tin — smooth batter is overmixed batter, and overmixed batter makes a tough, dense loaf. You will find the same keep-it-simple thinking across the SavorFoodies desserts and baking, and on the SavorFoodies homepage you will see the same approach — food meant for real weeknights, not just special occasions.
Ingredients You Need
For the bananas, the rule is simple: the blacker, the better. Skins that are mostly black with soft fruit inside are perfect; skins that are just yellow with a few spots will work, but the loaf will be less flavourful. If your bananas are not ripe enough, you can hurry them along in a low oven — 150°C (300°F) for 15 minutes turns the skins black and softens the fruit — but naturally ripened bananas are always best. Three large bananas, about 300 g mashed, is the right amount.
For the rest, gather:
- 3 large very ripe bananas, mashed (about 300 g)
- 115 g unsalted butter, melted and slightly cooled
- 150 g caster sugar, plus 1 tablespoon for sprinkling (optional)
- 2 large eggs, at room temperature
- 1 teaspoon vanilla extract
- 190 g plain flour
- 1 teaspoon baking soda
- 1/2 teaspoon fine salt
- 1/2 teaspoon ground cinnamon (optional, but lovely)
- 100 g walnuts, toasted and roughly chopped, plus a few extra for the top
- 1 tablespoon milk, only if the batter looks very thick
A note on the butter, because melted versus softened changes the loaf. Melted butter gives a denser, moister crumb — the texture most people think of when they think of banana bread — while creamed butter gives a lighter, more cake-like crumb. Both are good, but melted is simpler and more reliable, and it is what this recipe is built around. Let it cool slightly before mixing, or it can scramble the eggs. And on the walnuts: toast them, always. Raw walnuts are fine, but toasted walnuts are a different ingredient — deeper, butterier, and worth the five minutes. The background on walnut explains why toasting transforms them so much, and in a loaf this simple, that transformation is doing real work.
How to Make It
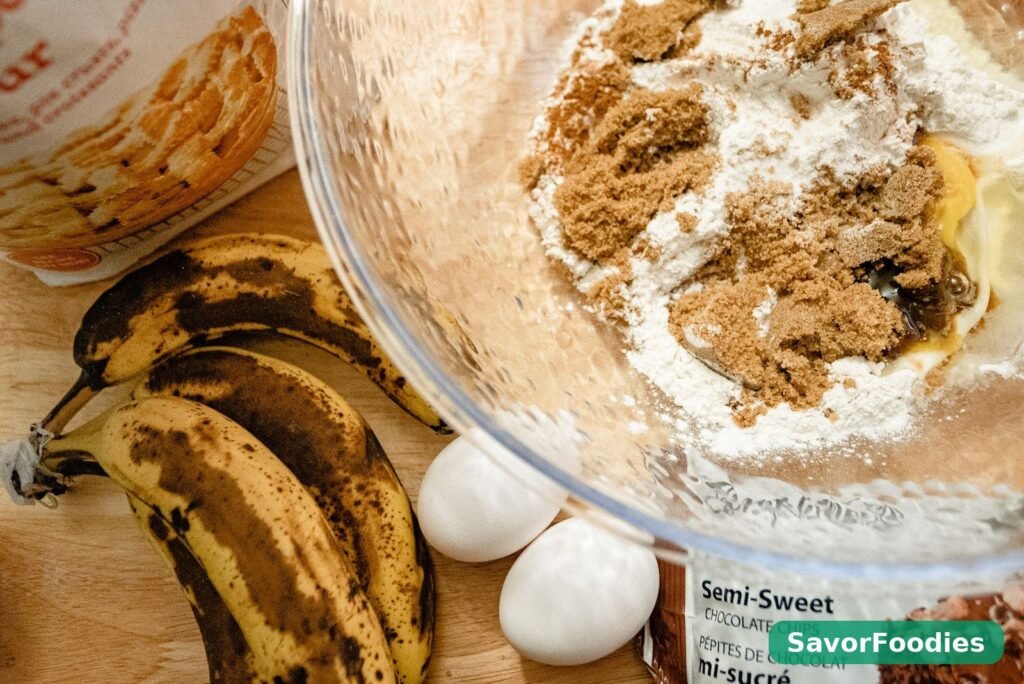
- Prepare the tin and oven. Heat the oven to 175°C (350°F) and line a 900 g (2 lb) loaf tin with parchment paper, leaving a little overhang on the long sides so you can lift the loaf out later. If you do not have parchment, grease the tin well and dust it with flour. Toast the walnuts in a dry pan over medium heat for 4 to 5 minutes, shaking the pan often, until they smell fragrant and look a shade darker. Let them cool, then chop roughly — you want pieces, not dust.
- Mash and mix the wet ingredients. In a large bowl, mash the bananas with a fork until they are mostly smooth with a few small lumps left — those lumps are character, not a flaw. Stir in the melted butter, sugar, eggs, and vanilla until combined. The mixture will look a little loose and glossy, and that is correct. Do not beat it vigorously; a few gentle stirs are enough, and the eggs should just disappear into the mixture.
- Add the dry ingredients. Sprinkle the flour, baking soda, salt, and cinnamon over the banana mixture and fold gently with a spatula or wooden spoon, just until the flour disappears. Stop the moment you cannot see dry flour anymore — a few small lumps are fine, and stirring past this point is how banana bread turns tough. Fold in most of the chopped walnuts, reserving a handful for the top. If the batter looks very thick and stiff, add the tablespoon of milk; if it looks soft and pourable, leave it out.
- Pan and bake. Scrape the batter into the prepared tin and smooth the top gently. Scatter the reserved walnuts over the surface and sprinkle with the extra tablespoon of sugar if you like a crunchy top. Bake for 55 to 65 minutes, until the top is deep golden and a skewer pushed into the centre comes out with moist crumbs clinging to it, not wet batter. If the top browns too fast, tent it loosely with foil for the last 15 minutes — every oven browns differently, and foil is a better fix than a burnt top.
- Cool properly. Let the loaf cool in the tin for 15 minutes, then lift it out using the parchment overhang and cool completely on a wire rack before slicing — at least an hour, though I know how hard that wait is. Cutting too soon crushes the crumb and lets the steam escape, which dries the loaf out. The wait is the hardest part of this recipe, and it is also the most important. Once cool, slice with a serrated knife, which cuts cleanly through the walnuts without dragging them through the crumb.
Tips for the Best Result
The single biggest improvement you can make is not overmixing, and I cannot stress it enough. The moment the flour disappears, stop stirring. Every extra stir develops gluten, and gluten in a quick bread makes it tough and dense instead of tender. The batter should look rough and slightly lumpy, and if you are worried it looks unfinished, it is probably perfect. This is the opposite of most baking advice, and it is the reason banana bread is so forgiving for beginners — the correct technique feels like doing less, because it is.
Another tip: measure the bananas, do not just count them. Bananas vary enormously in size, and three small bananas can be half the mash of three large ones. About 300 g of mashed banana is the target — weigh it if you can, or use a measuring cup and aim for about one and a quarter cups. Too little banana makes a dry, pale loaf; too much makes a soggy centre that never quite sets. The right amount gives you a moist crumb that still holds its shape when sliced.
A few more things I have learned the hard way. If the centre sinks after baking, the loaf was either underbaked or overmixed — check with a skewer next time, and stir less. If the loaf is dry, your bananas were probably underripe, or the oven ran hot; an oven thermometer is a small purchase that fixes a surprising number of baking mysteries. And if the top cracks, celebrate — a crack down the middle is the sign of a well-risen loaf, not a flaw, and it is where the butter melts best. The same gentle hand pays off elsewhere too, like in these small batch cookies without baking soda, where stopping at the right moment matters more than any ingredient.
What to Serve With It
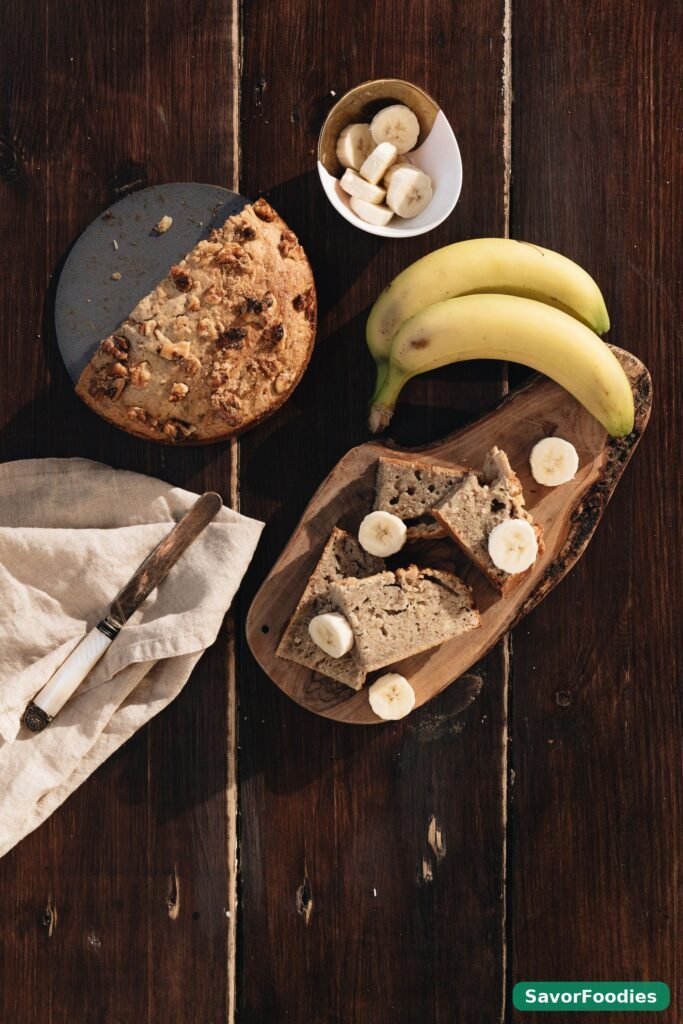
Warm, with butter, is the classic, and it is classic because it is perfect — a thick slice, still slightly warm, with butter melting into the crumb and the walnuts providing crunch against the softness. At room temperature, it is just as good, and it is the version that travels: lunchboxes, picnics, office kitchens, anywhere a slice of something homemade is welcome. Toasted the next day, with a scrape of butter or a smear of cream cheese, it becomes a different thing again — the edges crisp, the walnuts toast further, and the banana flavour deepens.
For a dessert, a slice with a scoop of vanilla ice cream and a drizzle of honey turns banana bread into a proper pudding, and it is the fastest impressive dessert I know. For breakfast, it needs nothing at all — a slice and a coffee, eaten standing in the kitchen, is a perfectly respectable start to the day. If you are feeding a crowd, bake two loaves and slice one thin for tasting and one thick for serving; the thin slices disappear first, always. The same crowd-friendly thinking works in these small batch chocolate chip cookies without brown sugar, where a small batch, well made, beats a large batch made carelessly.
Storage and Reheating
Banana bread keeps beautifully at room temperature for up to four days, wrapped tightly in cling film or kept in an airtight container. It actually improves on the second day, as the crumb settles and the flavour deepens — if you can resist it that long. For longer storage, slice the loaf and freeze the slices in a single layer, then bag them once frozen; they keep for up to three months, and a slice goes straight from freezer to toaster without thawing.
Reheating is simple and forgiving. A slice in the toaster, or a minute in a dry pan, brings back the warmth and crisps the edges, and the walnuts toast a little further in the process. The microwave works in a pinch — ten seconds, no more — but it softens the crust, so the toaster is better if you have the time. If the loaf has gone a little dry after a few days, a smear of butter or cream cheese fixes it instantly, and nobody will know it was not freshly baked.
Frequently Asked Questions
How ripe should the bananas be?
As ripe as you dare. Skins that are mostly black, fruit that is soft and fragrant, and a sweetness you can smell when you peel them — that is the target. Yellow bananas with a few spots will work, but the loaf will be paler and less flavourful. If your bananas are still firm and yellow, wait, or speed them up in a low oven for 15 minutes. Underripe bananas are the single most common reason for disappointing banana bread, and they are entirely avoidable.
Can I leave out the walnuts?
Yes, and the loaf will still be good, though it will be softer and simpler. If nut allergies are a concern, leave them out entirely, or replace them with chocolate chips, which add their own kind of richness. Seeds — pumpkin or sunflower — give a similar crunch without the nut issue, though they taste different. The loaf does not depend on the walnuts, but it is better with something in it to break up the softness, so if you skip them, consider adding something else with texture.
Why did my loaf sink in the middle?
Almost always, it was underbaked or overmixed. A skewer should come out with moist crumbs, not wet batter, and if you pull the loaf before the centre sets, it collapses as it cools. Overmixing develops gluten that rises impressively and then falls, for the same result. Next time, stir less and bake longer — tent with foil if the top browns too fast, and trust the skewer over the clock. Every oven is different, and yours is the one you are baking in.
Can I make muffins instead?
Absolutely, and they are wonderful. Divide the batter among a lined muffin tin, filling each cup about three-quarters full, and bake at the same temperature for 20 to 25 minutes, until a skewer comes out with moist crumbs. Muffins bake faster and cool faster, which makes them ideal for lunchboxes, and they freeze just as well as the loaf. The same batter, the same method, a different shape — and children, in my experience, prefer the muffin version for reasons I have never fully understood.
Can I reduce the sugar?
You can, by about a third, without harming the loaf — the bananas provide a lot of sweetness on their own, especially very ripe ones. Reducing further makes the loaf taste flat rather than just less sweet, because sugar does more than sweeten: it keeps the crumb moist and helps the crust colour. If you want a less sweet loaf, use the ripest bananas you can find and reduce the sugar to 100 g, but do not go below that, or the texture suffers more than the flavour benefits.
Does banana bread need to be refrigerated?
No, and refrigerating it actually dries it out faster. Room temperature, wrapped tightly, is best for up to four days. If your kitchen is very warm, or you want to keep it longer, freeze it instead — freezing preserves the crumb far better than the fridge does. A slice from the freezer, toasted, tastes fresher than a slice that has spent three days in the fridge, and that is a useful thing to know on a hot week.
This is the loaf that taught me baking does not have to be precise to be good. Ripe bananas, a gentle hand, toasted walnuts, and patience while it cools — that is the whole recipe, and it has saved more black bananas and more bad mornings than I can count. Bake it once exactly as written, then make it yours — chocolate chips, a cinnamon swirl, muffins instead of a loaf, depending on the week. That is how a recipe earns a permanent place in a home kitchen: not by being perfect the first time, but by being good enough that you want to bake it again next week, and the week after that.