

There are some dinners that feel like a small act of rescue, and air fryer garlic butter shrimp is one of them. You come home tired, the fridge looks uninspiring, and twenty minutes later you are eating something that tastes like a restaurant starter — juicy shrimp, glossy with garlic butter, a squeeze of lemon over the top, bread on the side for the sauce. It is the fastest impressive dinner I know, and the air fryer is what makes it possible, because it cooks shrimp in minutes with no splattering pan and no smell hanging around the kitchen for hours.
I used to cook shrimp in a skillet, and it was fine, but it was also a performance: oil spitting, shrimp curling at different rates, garlic going from golden to burnt while I turned my back for ten seconds. The air fryer takes the drama out of it. The heat circulates evenly, the shrimp cook in a single layer in under ten minutes, and the garlic butter, tossed through at the end, stays sweet and fragrant instead of scorching. The first time I made them this way, I stood in front of the air fryer slightly suspicious that something so easy could taste so good, and then I ate half of them straight from the basket.
If you are new to cooking seafood at home, this is the kindest place to start. Shrimp cook so fast that there is barely time to ruin them, the signs of doneness are obvious — pink, opaque, curled into a C — and the whole dish forgives a beginner. By the second time you make them, you will have your own version, maybe with a pinch of chilli, maybe with extra lemon, and that is exactly how a recipe earns its place in a home kitchen.
Why This Recipe Works
Shrimp and the air fryer are a natural match for one simple reason: shrimp need fast, even heat, and that is exactly what an air fryer delivers. In a skillet, the shrimp touching the pan cook faster than the ones piled on top, and the garlic in the butter burns before the last shrimp is done. In the air fryer, every shrimp sits in the same hot air, cooks at the same rate, and comes out juicy at the same moment. The result is a basket of shrimp that are all done together, none rubbery, none raw in the middle.
The garlic butter is added after cooking, not before, and that order matters more than it looks. Garlic burns quickly, and burnt garlic is bitter in a way that no amount of butter can hide. By tossing the hot shrimp in garlic butter the moment they come out, the residual heat melts the butter and blooms the garlic gently, without ever letting it scorch. The butter coats every shrimp in a glossy layer, the lemon at the end lifts it, and the parsley adds a fresh note that keeps the richness from feeling heavy. The background on shrimp is worth a quick read if you are curious about the ingredient, though you do not need it to cook them well.
There is also the practical side, which is where this recipe really earns its keep. Ten minutes from basket to plate, one basket to wash, no oil splatter on the stove, and a dish that works as a weeknight dinner, a starter for guests, or a topping for pasta and rice. You will find the same low-effort, high-reward thinking across the SavorFoodies air fryer recipes, and on the SavorFoodies homepage you will see the same approach — food meant for real weeknights, not just special occasions.
Ingredients You Need
For the shrimp, size matters more than you might expect. Large shrimp, about 21 to 25 per pound, are ideal — they are meaty enough to stay juicy in the air fryer, and they do not overcook in the time it takes to blink. Tiny shrimp cook in two minutes and go rubbery if you look away, so save those for pasta sauces and fried rice. Buy them peeled and deveined if you can; doing it yourself is fine, but it adds ten minutes to a ten-minute dinner.
For the rest, gather:
- 450 g large shrimp, peeled and deveined, tails on or off as you prefer
- 1 tablespoon olive oil
- 1/2 teaspoon kosher salt
- 1/4 teaspoon black pepper
- 1/2 teaspoon smoked paprika
- 3 tablespoons unsalted butter, melted
- 4 cloves garlic, finely grated or minced
- 1 tablespoon fresh lemon juice, plus lemon wedges for serving
- 2 tablespoons fresh parsley, chopped
- A pinch of chilli flakes (optional)
- Crusty bread, rice, or pasta, for serving
A note on the garlic, because it is the whole point of the dish. Grate it rather than chopping it, because grated garlic melts into the butter and coats every shrimp, while chopped pieces sit in lumps and can taste raw in spots. Fresh garlic is essential here — the jarred kind has a dull, slightly sour note that shows up clearly in a dish this simple, where there is nowhere for it to hide. The background on garlic explains why fresh cloves behave so differently from preserved ones, and in a five-ingredient sauce, that difference is the dish. And on the butter: unsalted, so you control the salt, and melted but not browned — you want sweet butter, not nutty brown butter, which would push the flavour in a different direction.
How to Make It
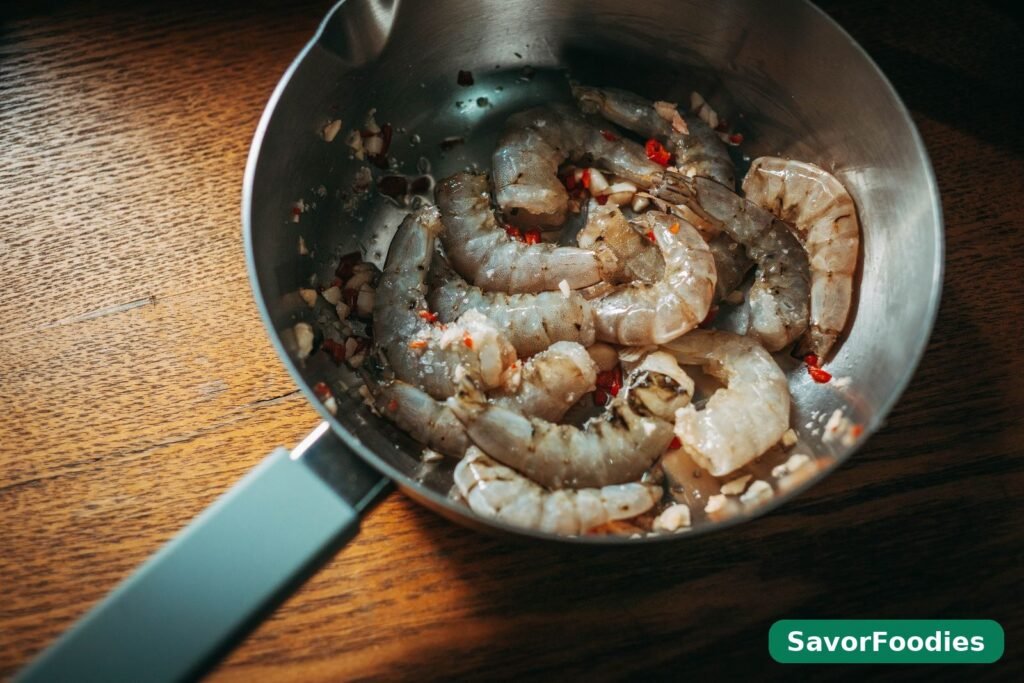
- Prepare the shrimp. If the shrimp are frozen, thaw them first — overnight in the fridge is best, or in a bowl of cold water for 15 to 20 minutes, changing the water once. Pat them very dry with paper towels. This step is easy to skip and costly to skip: wet shrimp steam instead of roast, and you lose the lightly crisped edges that make air fryer shrimp special. Toss the dried shrimp with the olive oil, salt, pepper, and paprika until evenly coated.
- Preheat the air fryer. Heat the air fryer to 200°C (400°F) for 3 minutes. A hot basket matters here, because shrimp cook so fast that a cold start costs you the sear. While it heats, mix the melted butter, grated garlic, lemon juice, parsley, and chilli flakes if you are using them, in a large bowl — this is the bowl the shrimp will be tossed in, so make it big enough to toss comfortably.
- Cook in a single layer. Arrange the shrimp in the basket in a single layer, with a little space between them. Do not pile them up — crowded shrimp steam, and steamed shrimp are pale and soft instead of lightly crisped at the edges. If your air fryer is small, cook in two batches; the second batch takes the same six minutes, and it is worth it. Cook for 6 to 8 minutes, shaking the basket once halfway through, until the shrimp are pink, opaque, and curled into a C shape. A tight O means overcooked, so pull them at C.
- Toss in garlic butter and serve. Tip the hot shrimp straight into the bowl of garlic butter and toss until every shrimp is glossy and coated. The residual heat melts the butter further and softens the garlic without cooking it harshly. Taste and adjust the salt and lemon — the lemon should lift the butter, not dominate it. Serve immediately, with the remaining butter from the bowl spooned over the top, lemon wedges alongside, and bread, rice, or pasta ready for the sauce.
Tips for the Best Result
The single biggest improvement you can make is drying the shrimp properly. I mean really dry — two rounds of paper towels, pressing gently, until the towels come away almost clean. Water is the enemy of crisp edges, and shrimp hold more water than they look like they do, especially thawed ones. The second biggest improvement is not overcooking them. Shrimp go from perfect to rubbery in about sixty seconds, so set a timer, check at six minutes, and trust the C shape over the clock. Every air fryer runs a little differently, and yours is the one you are cooking in.
Another tip: season the shrimp before cooking, but keep the garlic out of the basket. Garlic in the air fryer at 200°C burns in minutes, and burnt garlic will flavour the whole batch. The post-cook toss is what keeps the garlic sweet, and it is the reason this recipe works so reliably. If you want a deeper garlic flavour, add a little garlic powder to the pre-cook seasoning — powder tolerates the heat far better than fresh garlic — and keep the fresh garlic for the butter.
A few more things I have learned the hard way. Do not cook shrimp straight from frozen in the air fryer for this recipe — they release so much water that they steam, and the seasoning slides off. Thaw them first, always. If your shrimp are different sizes, sort them and cook the large ones first, then the small ones for a shorter time, or the small ones will be rubber bands by the time the large ones are done. And if you are doubling the recipe, cook in batches rather than crowding — a second six-minute batch beats a single crowded one every time. The same respect for single layers pays off elsewhere too, like in these air fryer chicken tenders without breadcrumbs, where space and heat produce the same kind of crisp, juicy result.
What to Serve With It
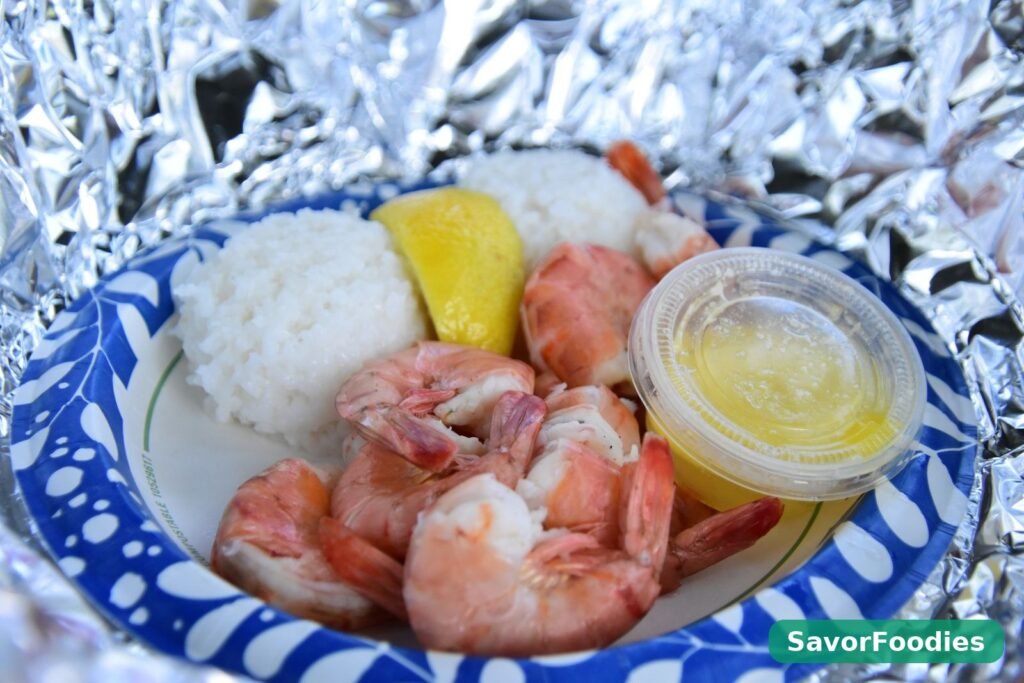
Crusty bread is the non-negotiable partner, because the garlic butter at the bottom of the bowl is too good to leave behind, and bread is the only dignified way to get it. Beyond that, this dish is wonderfully flexible. Over rice, it becomes a complete dinner in one bowl, especially with a pile of greens alongside. Tossed through pasta with a splash of the pasta water, it turns into a weeknight shrimp scampi without a second pan. In a warm tortilla with shredded cabbage and a squeeze of lime, it becomes tacos that taste far more considered than the effort suggests.
For guests, I serve it as a starter with bread and a simple salad, and it always disappears first — there is something about a bowl of glossy shrimp that makes people gather around it. For a family dinner, rice and roasted vegetables make it feel generous without much extra work, and the shrimp are rich enough to carry a modest spread. The same weeknight flexibility shows up in these chicken thighs without breading in the air fryer, where one good technique turns a simple protein into half a dozen different meals.
Storage and Reheating
Shrimp are at their best the moment they are cooked, and I will be honest: leftovers are a compromise. If you do have them, keep them in the fridge for up to two days in an airtight container, and use them cold rather than reheating — cold garlic butter shrimp are excellent sliced into a salad or tucked into a sandwich with lettuce and lemon mayonnaise. Reheating shrimp almost always pushes them past done, and there is no way back from rubbery.
If you must reheat, do it gently and briefly: 30 seconds in the microwave at half power, or one minute in a warm pan with a knob of butter, just until warm, not hot. Do not freeze cooked shrimp from this recipe — the texture suffers badly on thawing, and the garlic butter separates. If you want to plan ahead, freeze the raw shrimp instead, thaw them when you need them, and cook them fresh in ten minutes. That is the whole point of a recipe this fast: there is no need to cook ahead, because cooking fresh takes less time than reheating well.
Frequently Asked Questions
Can I cook frozen shrimp directly in the air fryer?
You can, but I would not for this recipe. Frozen shrimp release a lot of water as they cook, which steams them instead of roasting them, and the seasoning slides off the icy surface. Thawing takes 15 minutes in cold water and makes a real difference to the result. If you are truly in a hurry, pat the frozen shrimp as dry as you can, add two minutes to the cook time, and expect a slightly softer result — edible, but not the crisp-edged version this recipe is aiming for.
How do I know when shrimp are done?
Look for three things: colour, opacity, and shape. Done shrimp are pink all over, opaque rather than translucent, and curled into a loose C. If they are still grey or glassy in the middle, they need another minute. If they have curled into a tight O, they are overcooked — still edible, but firmer than they should be. When in doubt, pull one out and cut it open: the centre should be white and opaque, not grey or translucent. After one batch, you will recognise done at a glance.
Should I leave the tails on?
Entirely your choice, and mostly about how you plan to eat them. Tails on look beautiful and give you something to hold if people are eating with their fingers, which suits a starter or a sharing bowl. Tails off are far more practical if the shrimp are going over rice or pasta, where nobody wants to fish tails out of their dinner. I leave them on for guests and take them off for family pasta nights, and both versions taste identical.
Can I add vegetables to the basket?
You can, but keep them separate in timing. Quick vegetables like asparagus tips or cherry tomatoes can go in for the last three minutes, but anything that needs longer — peppers, onions, broccoli — should be cooked first and added back at the toss stage, or they will be raw while the shrimp are done. The shrimp cook so fast that sharing a basket only works with vegetables that cook equally fast, and most do not. Cooking the vegetables first and tossing everything in the garlic butter together is the reliable route.
Is this recipe spicy?
As written, no — the chilli flakes are optional, and without them the dish is warm and garlicky rather than hot. If you like heat, a generous pinch of chilli flakes in the butter gives a gentle warmth, and a diced fresh chilli tossed through at the end gives a brighter, sharper heat. If you are cooking for children, leave the chilli out entirely; the garlic butter is flavourful enough on its own, and nobody will miss the heat.
Can I make the garlic butter ahead?
Yes, and it keeps well. Mix the butter, garlic, lemon, and parsley and keep it in the fridge for up to three days, or freeze it in small portions for a month. Let it come to room temperature before tossing, or melt it very gently — you want it soft and pourable, not sizzling, because hot butter would start cooking the garlic harshly. Having garlic butter ready in the fridge turns this into a genuinely five-minute dinner on the nights when even ten minutes feels like a lot.
This is the recipe I reach for when the day has been long and dinner still has to be good. Ten minutes, one basket, shrimp that taste like a restaurant starter, and a bowl of garlic butter that makes bread taste like a course in itself. Make it once exactly as written, then make it yours — a pinch of chilli, extra lemon, pasta instead of rice, depending on the night. That is how a recipe earns a permanent place in a home kitchen: not by being perfect the first time, but by being good enough that you want to cook it again next week, and the week after that.